 |
| Original image |
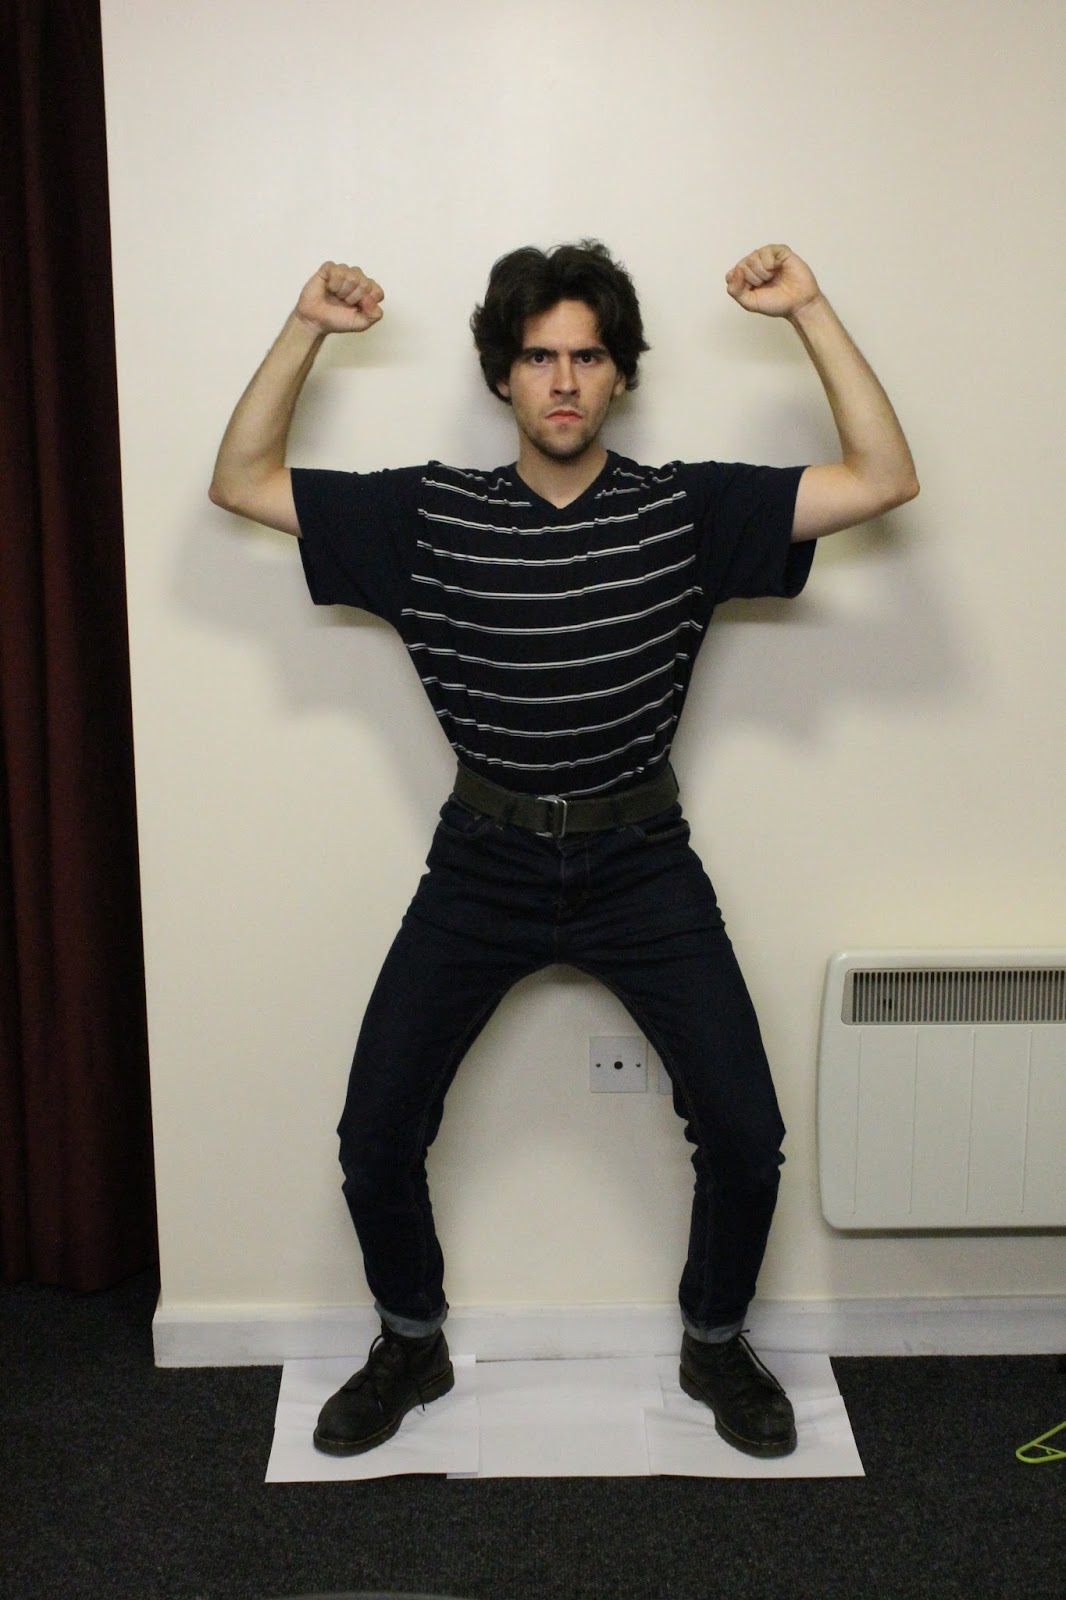
This study task arrived just in time, as I had already been conducting some research on 2D character rigging for the main Telling Tales brief. Although I got into using Duik as the main element to 2D rigging (which is something that we are going to tackle next week), I believe that the puppet pin tool is essential to be comprehended hence Duik uses that tool into its interface. Nonetheless, after having the puppet tool, its conventions and technicalities in class I started with the process of exploration and experimentation. Considering that I needed a transparent picture of myself, I covered my surroundings with the color white in order to edit out the edges much easier. Thus, I struck a non-overlapping pose in order to have the mesh distributed properly and my extremities anchored with pins properly as well. Using one of the older techniques of mimicking earthshakes, upon every step down I made I shifted all layers' positions up and down by exponentially decreasing coefficients, adding a sense of gigantism. Exporting everything as an image sequence from After Effects into Premiere, jotting it down to 24 fps, I added strobe lights, lighting, and a lens glare to add a bit of semi-realism into the sequence, adding to the comical effect. Finally, I added a Frank Zappa song to seal the deal with an abrupt beginning and end to induce a notion of frivolousness. All in all, learning whilst having fun is one of the most effective intrinsic motivators that solidifies the acquisition of knowledge. Furthermore, this session helped me refresh my rough understanding of the puppet pin tools, which has helped me immensely for delving further into 2D rigging.
Puppet Pin Export -
https://www.youtube.com/watch?v=fKjbvnyXM2Q
 |
| Photoshop edit |
 |
| Premiere Export |


No comments:
Post a Comment